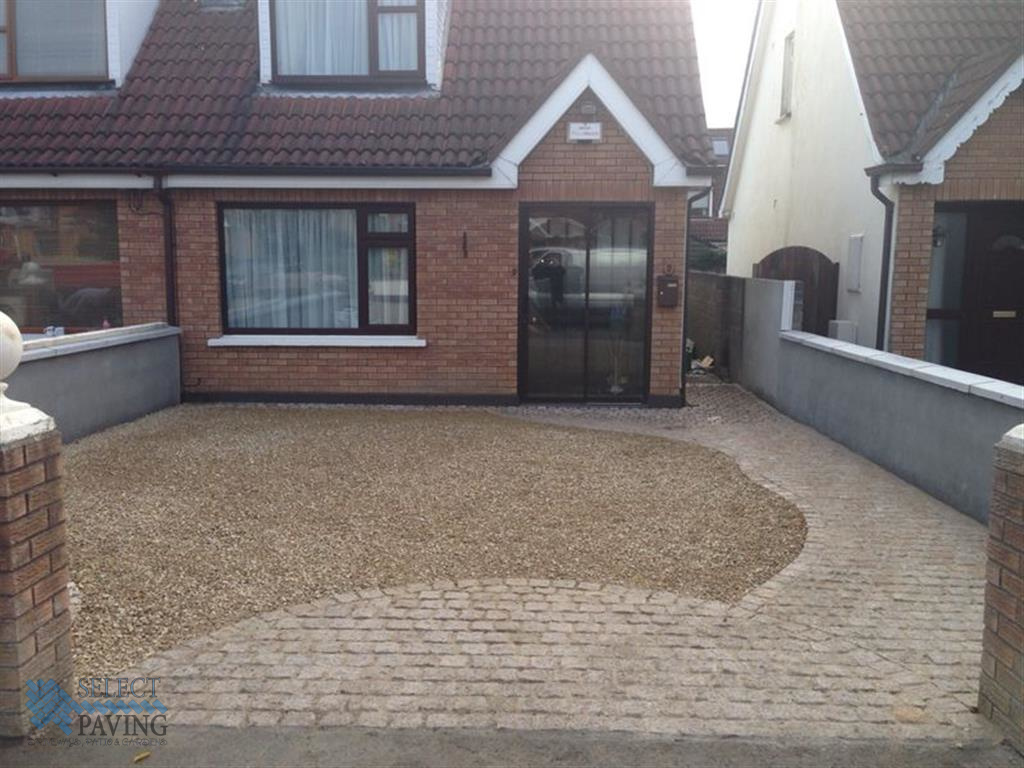
If you’re thinking about installing a gravel driveway, you might be surprised to learn that it’s not as complicated as taxing or as expensive as you might think. As gravel contractors in Kildare we are fully equipped to install gravel driveways in a minimum amount of time.
A new gravel driveway can make all the difference to any home. Properly installed, these driveways will last for years and breathe new life into any property. With the right help, you can also ensure that the driveway doesn’t suffer from the usual issues of rutting, pot holes, puddles and weed growth.
The first steps to installing your own driveway are choosing the right materials.
Geotextile Membrane – a gravel driveway installation depends heavily on surface preparation and an undercoat (of sorts). A good quality, permeable membrane will ensure that any rain water or surface moisture has the ability to drain through into the earth below without restraint or restriction. The other benefit of this material is it prevents the growth of even the most aggressive weeds springing up and ruining your new driveway. It doesn’t cost the earth and it’s an essential part of the process, so don’t scrimp!
Gravel Grids – one of the issues with gravel driveways is the potential for gravel shift and movement. Some clients don’t like it. For example, car tyres, feet, bicycle wheels – all have the potential to shift and. This is where gravel driveway grids come in. With a honeycomb structure and tough durable design they’re built to hold the gravel within their core and prevent movement or irritating shifts that might bother you. It is a simple, cost-effective option if you prefer a solid style gravel finish.
Installing The Gravel Driveway
Gravel driveways are easy to install with the right tools and preparation, allowing the construction to be carried out in a matter of hours.
Clearing & preparation – as previously stated, it’s perfectly possible to lay gravel on the current driveway surface (e.g. concrete) without clearing or preparing the surface in any other way. But it’s certainly not recommended. You’ll soon discover installing gravel this way will lead to shifting, puddle and unpleasant wear and tear that you won’t enjoy. So getting the surface preparation right can make all the difference. If you can, clear the current surface and ensure there’s fresh soil underneath ready for the next step. Flatten the surface as best you can to make the rest of the process that little bit easier.
Laying the membrane – as previously stated, it’s essential to lay a good surface membrane down before you get to the actual gravel. A good quality membrane will stop weed growth ruining the look of your driveway and allow for sufficient moisture drainage as well. You can buy the membrane is large sheets, cut to size and lay it to overlap for perfect coverage.
Laying the grids – with the membrane properly in place, the next step is laying the grids that will keep the gravel in place. These durable tiles can be cut to shape and easily fit by interlocking with one another to cover the entire driveway. Properly installed they will help ensure a flat surface and hold your gravel firmly in place.
Spreading the gravel – the final step is unloading and spreading your gravel over the properly prepared surface. As you rake and brush the gravel into place you’ll find it being absorbed into the honeycomb structure. With this design there’s less potential for the ball bearing effect and far less places for the gravel to go, meaning you’ll find you’ll need less gravel to cover the same amount of space.
That’s it. You’re all done. Now you can step back and admire your handiwork. The result is a durable, long-lasting driveway that doesn’t suffer from the usual issues of rutting, shifting, puddles and weed problems. Just a driveway that’ll last and last and won’t cost you the earth.


