Our Paving Process
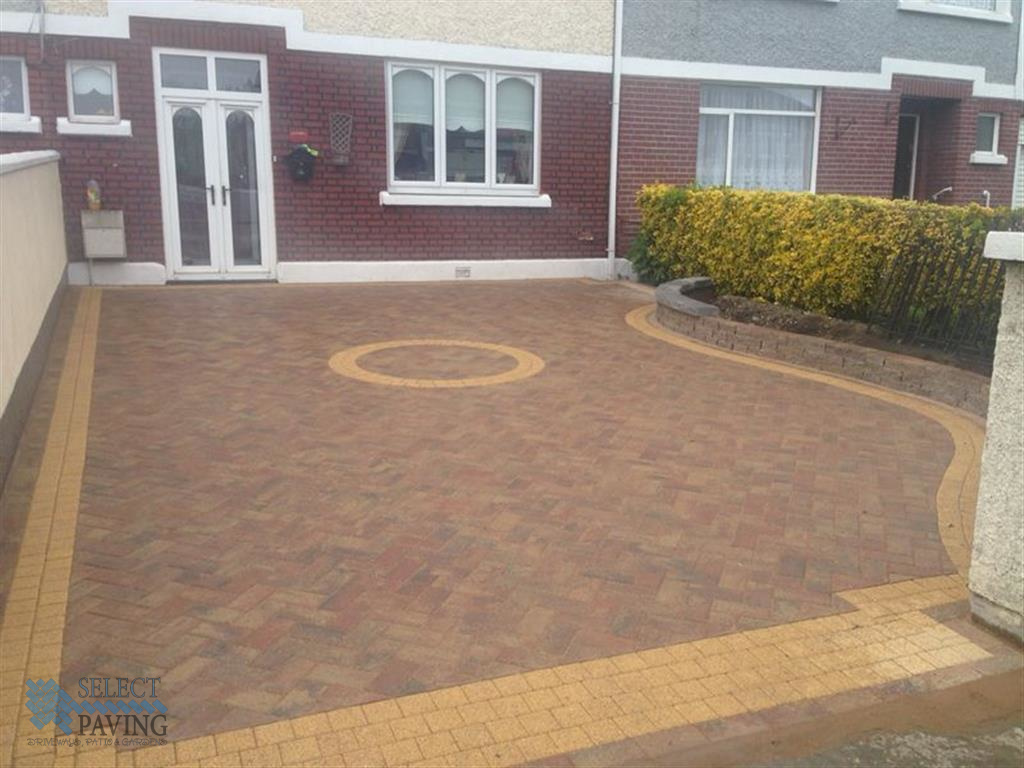
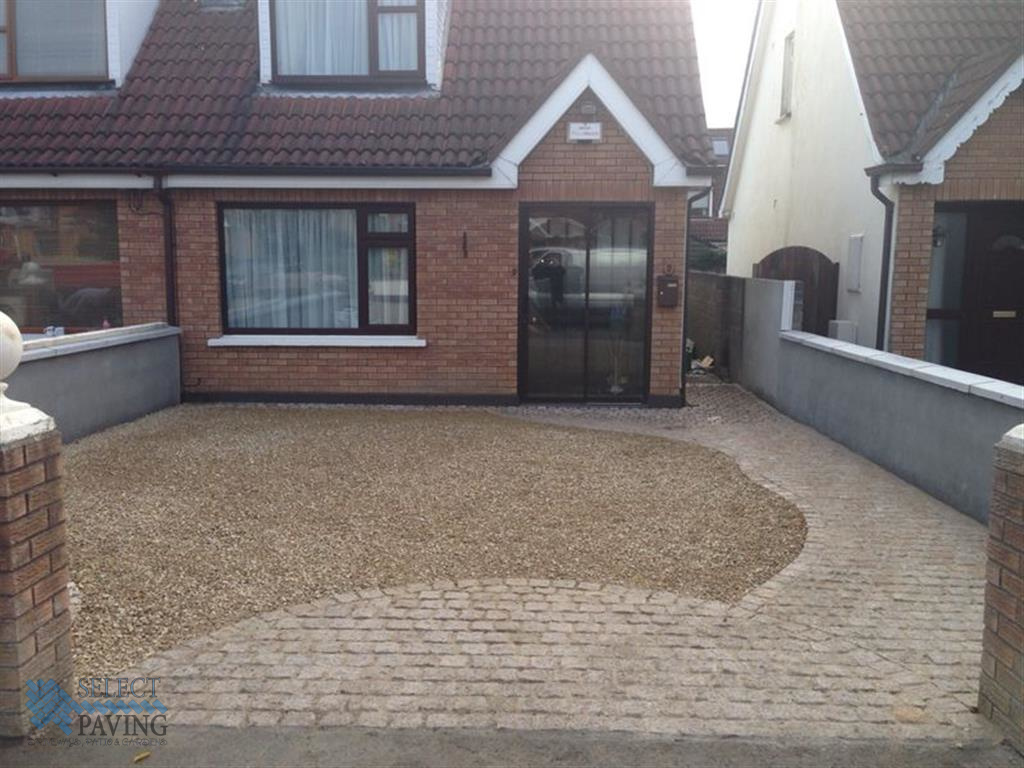
Paving bricks come in many styles and can be laid in many different variations. We believe in offering our customers as many choices as possible when it comes to choosing the color, outlook and design layout of their new driveway, patio or paths. This is why as paving contractors, we offer proper samples of the blocks so you can choose the one that you feel would best suit your surroundings. Of course, we can help you with that choice and give you the pro’s and con’s of such a choice.
Site Preparation
All our paving is laid on a firm, level and well drained base to ensure long term service and stability – getting the ground work right is essential.
Vegetation and top soil is removed to an approximate depth of 200mm-250mm across the area to be paved. We mark out this area with pegs or retaining boards and adjust their height to the required finished surface levels, ensuring that we allow a fall of 1:80 away from any buildings and walls for surface drainage. We also make sure that the finished paving surface level is at least 150mm (two brick courses) below the level of any damp proof course. After excavation, we rake level to ensure an even depth and compact the whole area using a plate compactor.
Edge restraints (if needed)
The next stage is to set up edge restraints around the area to be paved (these may include existing walls) using block kerbs or concrete edging. The kerbs or concrete edgings are bedded into 100mm of concrete, to the required level, with a 45 degree haunch up the side of at least half the block or kerb height. This is essential to prevent the blocks and the sand on which they are laid from moving.
Underground drainage, drainage gratings or recessed inspection chambers are installed at this stage if required.
The area is then be back filled with 150mm of crushed stone, compacted to 100mm.
Sub-base
Onto this, a layer of slightly damp grit sand (grit sand is more free draining than normal sand and is less prone to being washed out) is applied, to the depth of 50mm, and then compacted with a plate compactor. A second layer of grit sand is then applied, to a depth of 20mm. This second layer of sand is leveled to the correct falls.
Laying – the block pattern
The laying of concrete block paving should always begin from the bottom of any slope, preferably starting from a right angle or a straight edge. Working from several packs at a time is essential when using a mixed size product such as cobble styled paving blocks.
We place the blocks on top of the laying course, ensuring they are around 4-5mm above the desired finished level. Once all full blocks are laid, we use a mechanical block splitter or a Consaw to cut the blocks required for the infill pieces or at the retaining edges. Once completed, we sweep the area and compact with two or three passes of the plate compactor.
Jointing of the block paving is preferably completed in dry periods. We apply kiln dried sand to the block paved area, then brush into the joints using a soft brush, ensuring the joints are filled fully.
Applying the kiln dried sand
We use the plate compactor on the paved area again, to push the sand into the joints. Once this has been done, we check for any gaps in the jointing and fill where necessary, compacting again afterwards if needed. The sand in the joints may need to be topped up for the first few months after the job is completed.


